Nothing found
-
Address book
-
Campaigns
-
SMS
- Sender ID profile
- Sender type
- Unicode
- Message concatenation
- How to register a sender
-
Text sender ID registration
- Albania
- Australia
- Austria
- Belarus
- Bosnia and Herzegovina
- Bulgaria
- Croatia
- Czechia
- Finland
- Ghana
- India
- Ireland
- Israel
- Italy
- Ivory Coast
- Jordan
- Kenya
- Montenegro
- Morocco
- Mozambique
- Nigeria
- North Macedonia
- Philippines
- Qatar
- Romania
- Russia
- Serbia
- Slovenia
- Spain
- Thailand
- Turkey
- Ukraine
- United Arab Emirates
- United Kingdom
- United States of America
- Prohibited SMS content in the USA and Canada
- DND (Do Not Disturb)
-
Mobile Connect
-
Partner programs
-
Integrations
-
E-commerce modules
-
Make (ex Integromat)
- vTiger
-


Creating a Zap
This document will guide you through Zapier Zap creation
1. Zap creation
The main purpose of Zapier is to connect apps in order to complete a particular task.
Such connection is called Zap. After accepting invitation you will be send to the Zapier
site where you will click the Make Zap button.
2. Choosing Zap trigger
Every Zap needs an app that will activate the rest of the apps included in a Zap. Because BulkGate integration does not contain any triggers, we need to choose any other app that will work as a starting point of our Zap. In our example we are going to use the integration of Gmail.
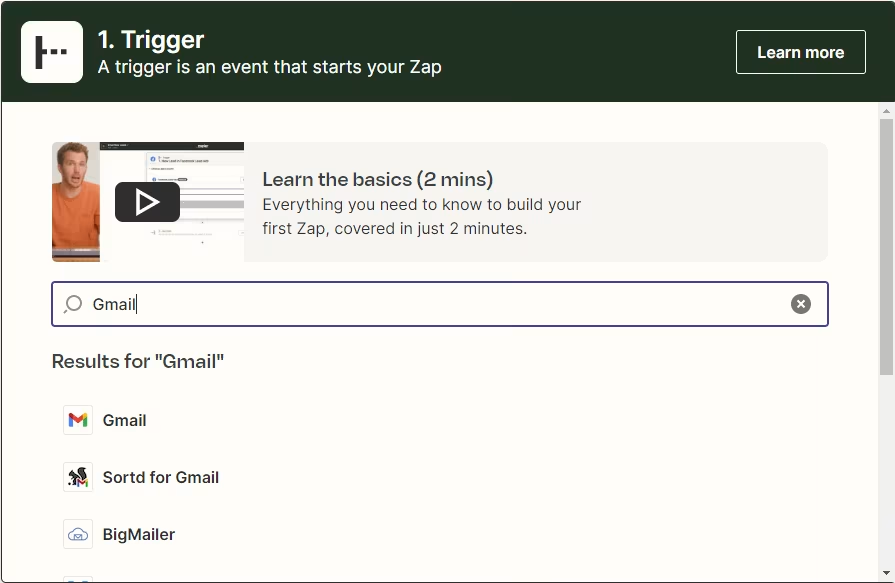
1. Choosing trigger
In our example we are going to create a Zap that will be activated every time we receive an email on a particular
email address. Every trigger, or action requires set of parameters to function properly.
New email trigger requires connection to an email account and inbox.
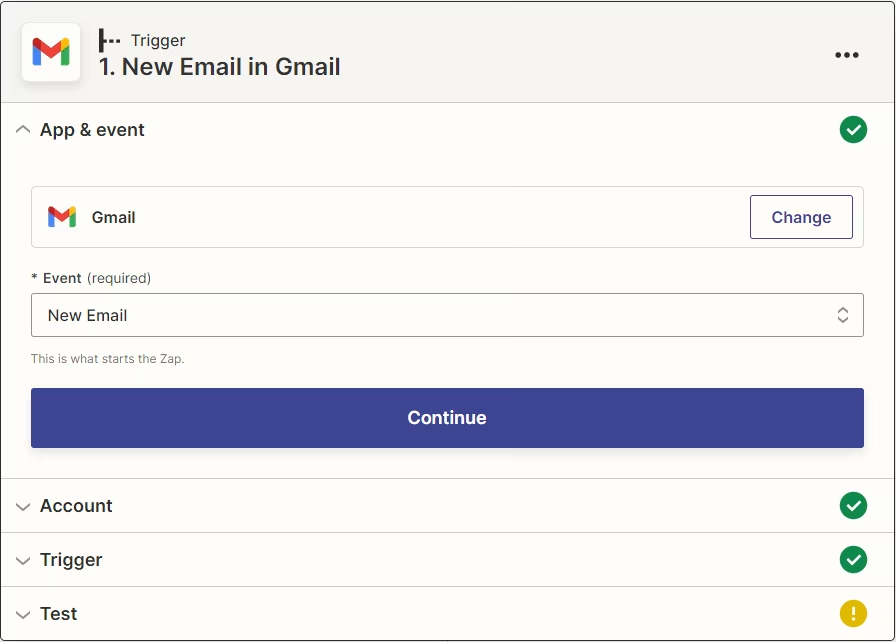
2. Testing
Every trigger/action requires test of functionality. Without such test it's not possible to propagate data to the next step. Test works as follows. Zapier will check the specified inbox to test its availability. Content of returned message will be available for propagation to the next step.
3. BulkGate integration
Now that we have trigger set up, we will connect BulkGate integration. Our example is as follows. After receiving an email an SMS notification will be send to a specified phone number.
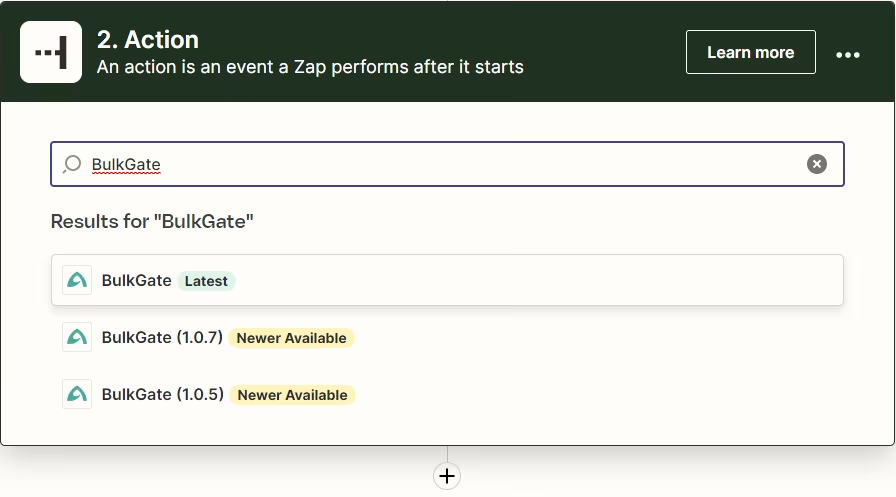
1. Select application
We choose BulkGate as a second step app.
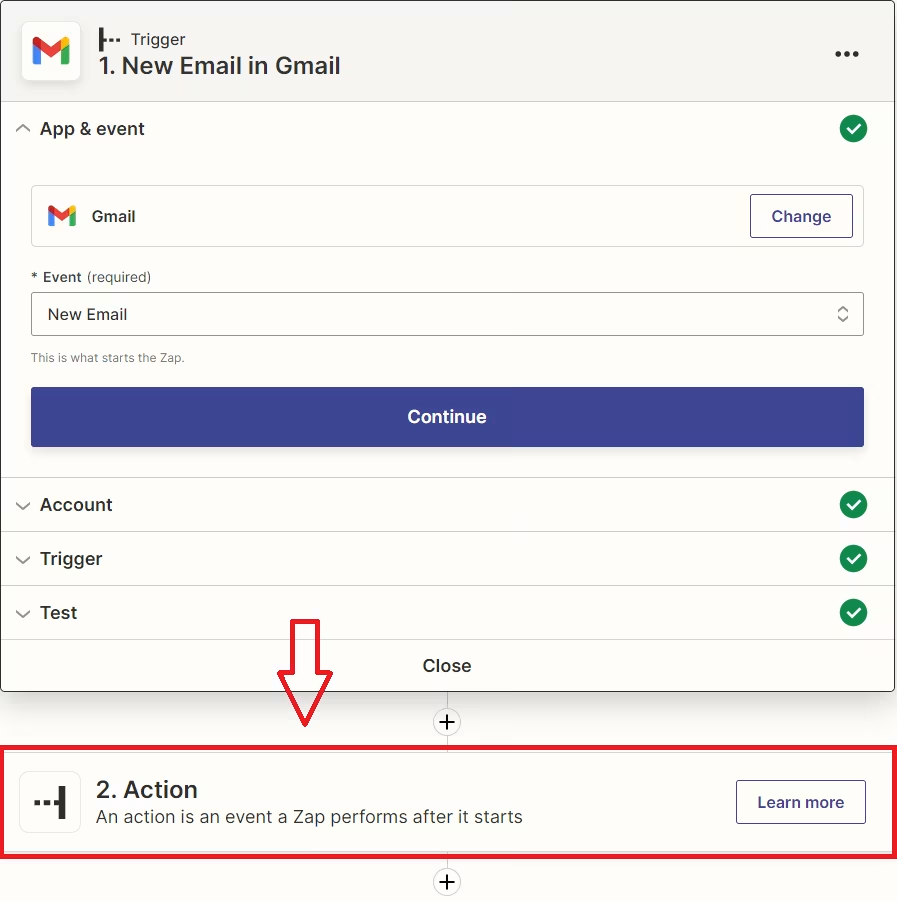
2. Select action
We choose Send transactional SMS action.
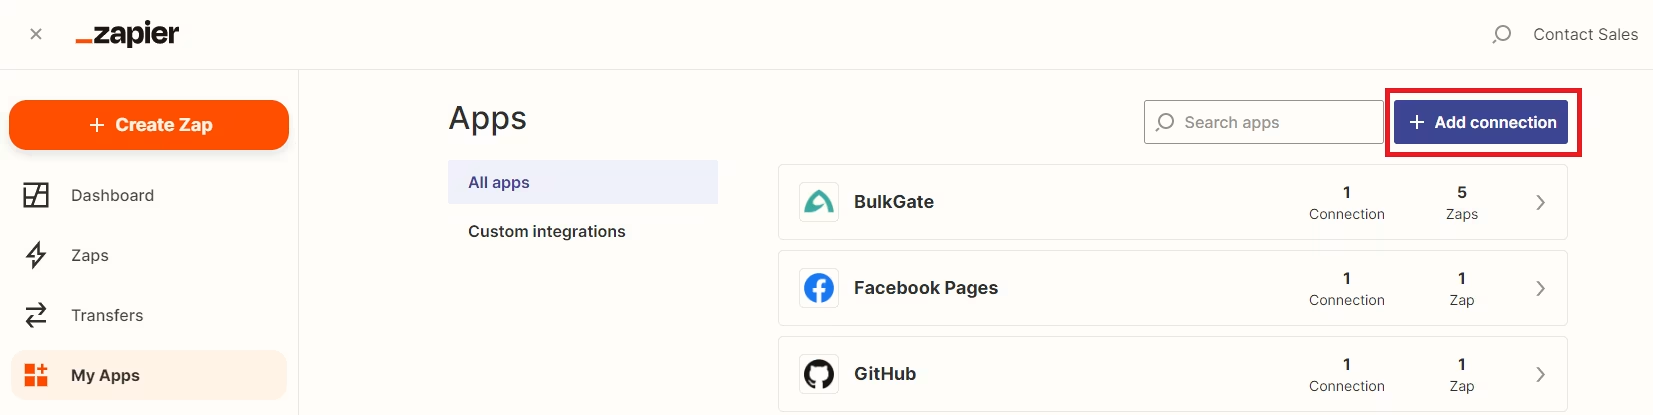
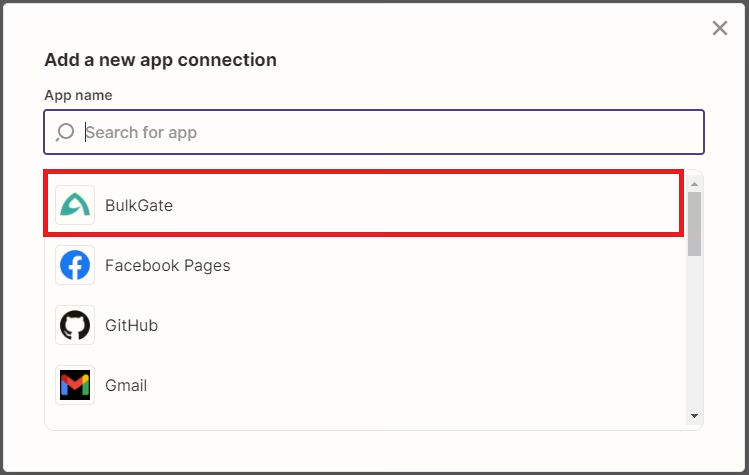
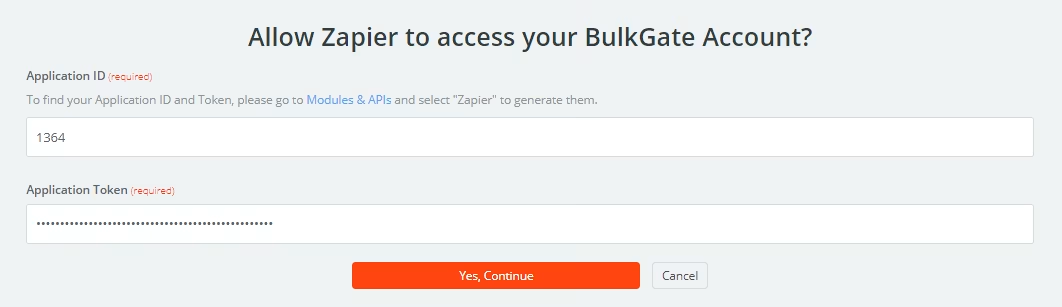
3. Authentication
We need to specify authentication information (Application ID, Application token). To acquire such information visit BulkGate Api setup guide.
4. Input parameters
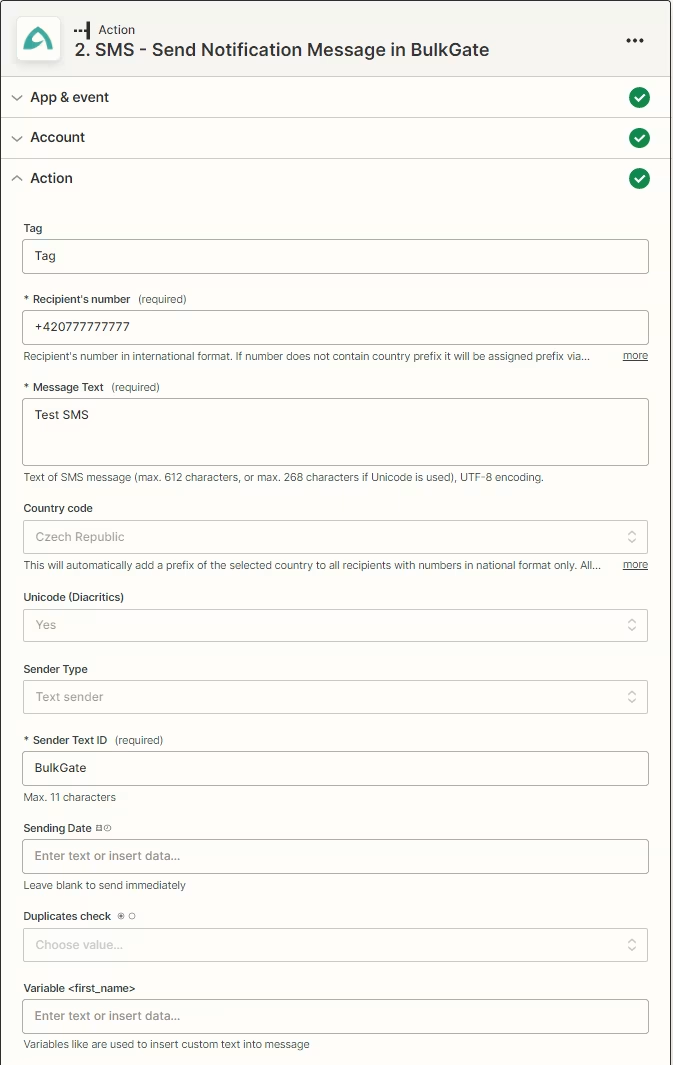
We will insert input parameters required to send transactional SMS. For additional information concerning of input parameters visit BulkGate API documentation.
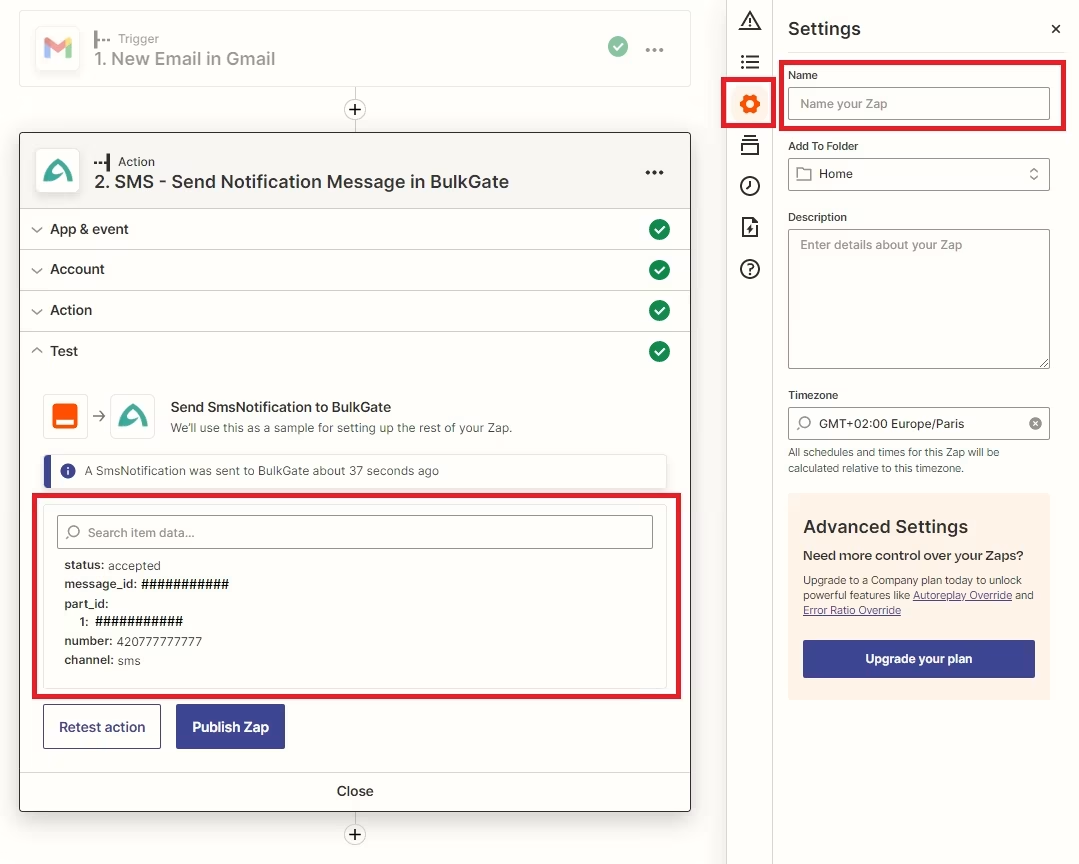
5. Ready to use
Zap is now complete and we can name it as needed. After activation, Zapier will check email inbox every 15 minutes. If Zap cannot be activated, it is because every Zap including more than two steps needs a Premium/trial account to work.
Thank you for your feedback.